Patching Fixtures
To patch fixtures open the Patch window by clicking the Patch button in the navigation bar or by pressing F10.
You should see the following window with an empty fixture list.
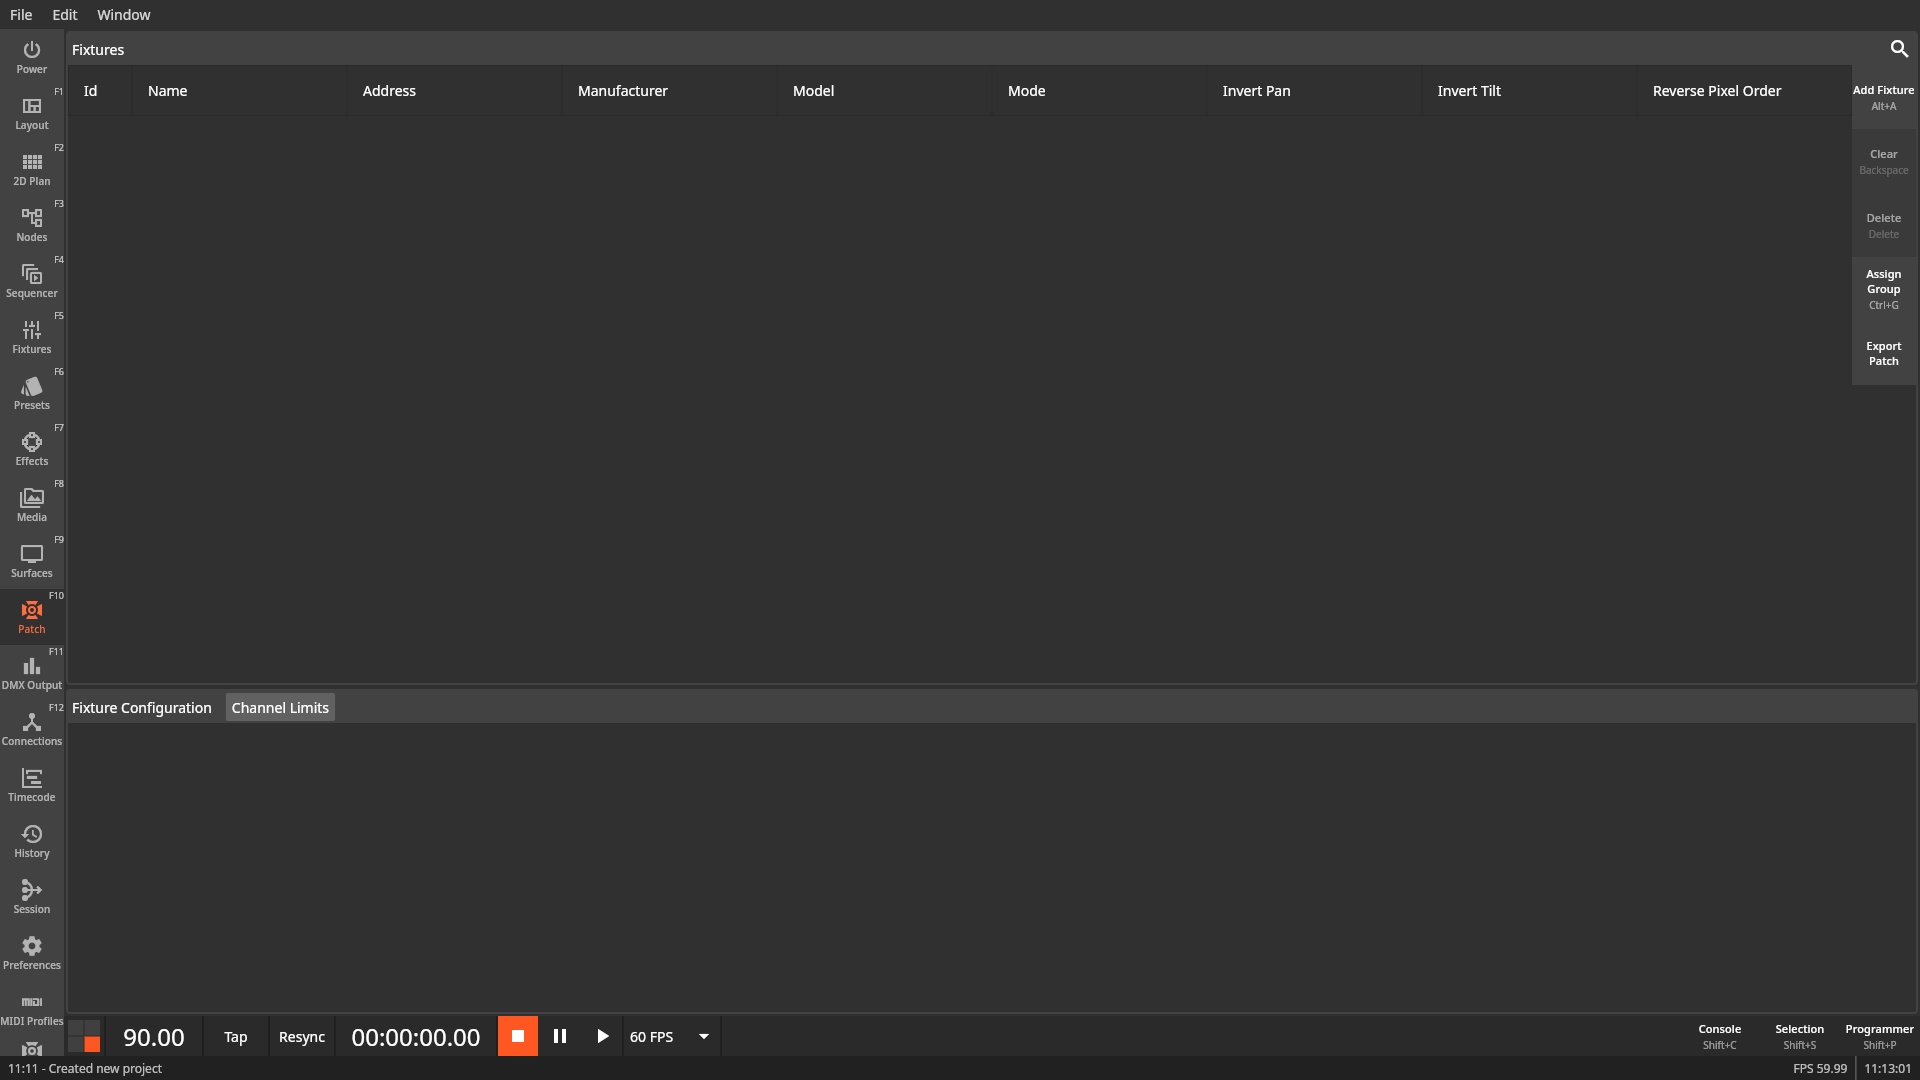
To patch a fixture click the Add Fixture or press Alt+A. This will open the Fixture Patch dialog.
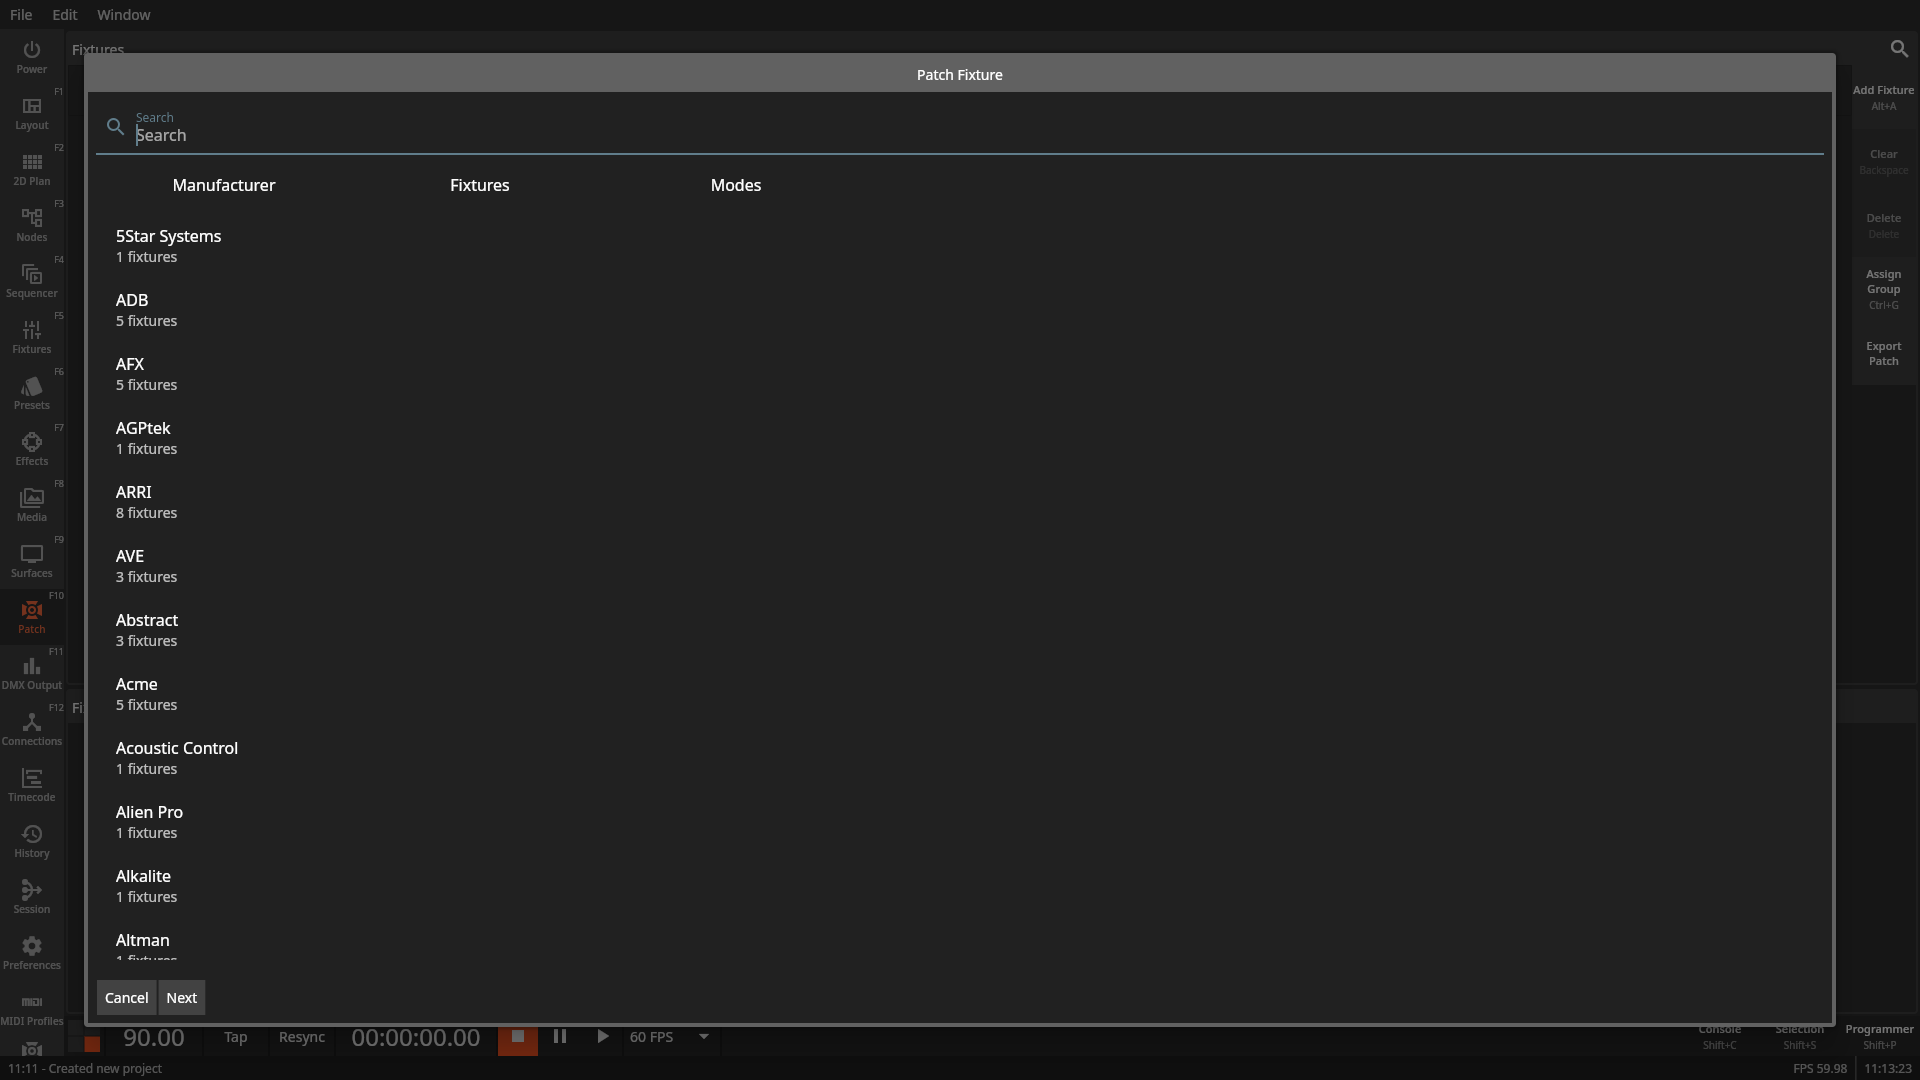
Here you can search for the fixtures you want to patch. The search bar at the top will search through the manufacturer and fixture name fields.
When you’ve selected a fixture you can select its operating mode. On the right side you will see a short overview of the available channels in the given mode.
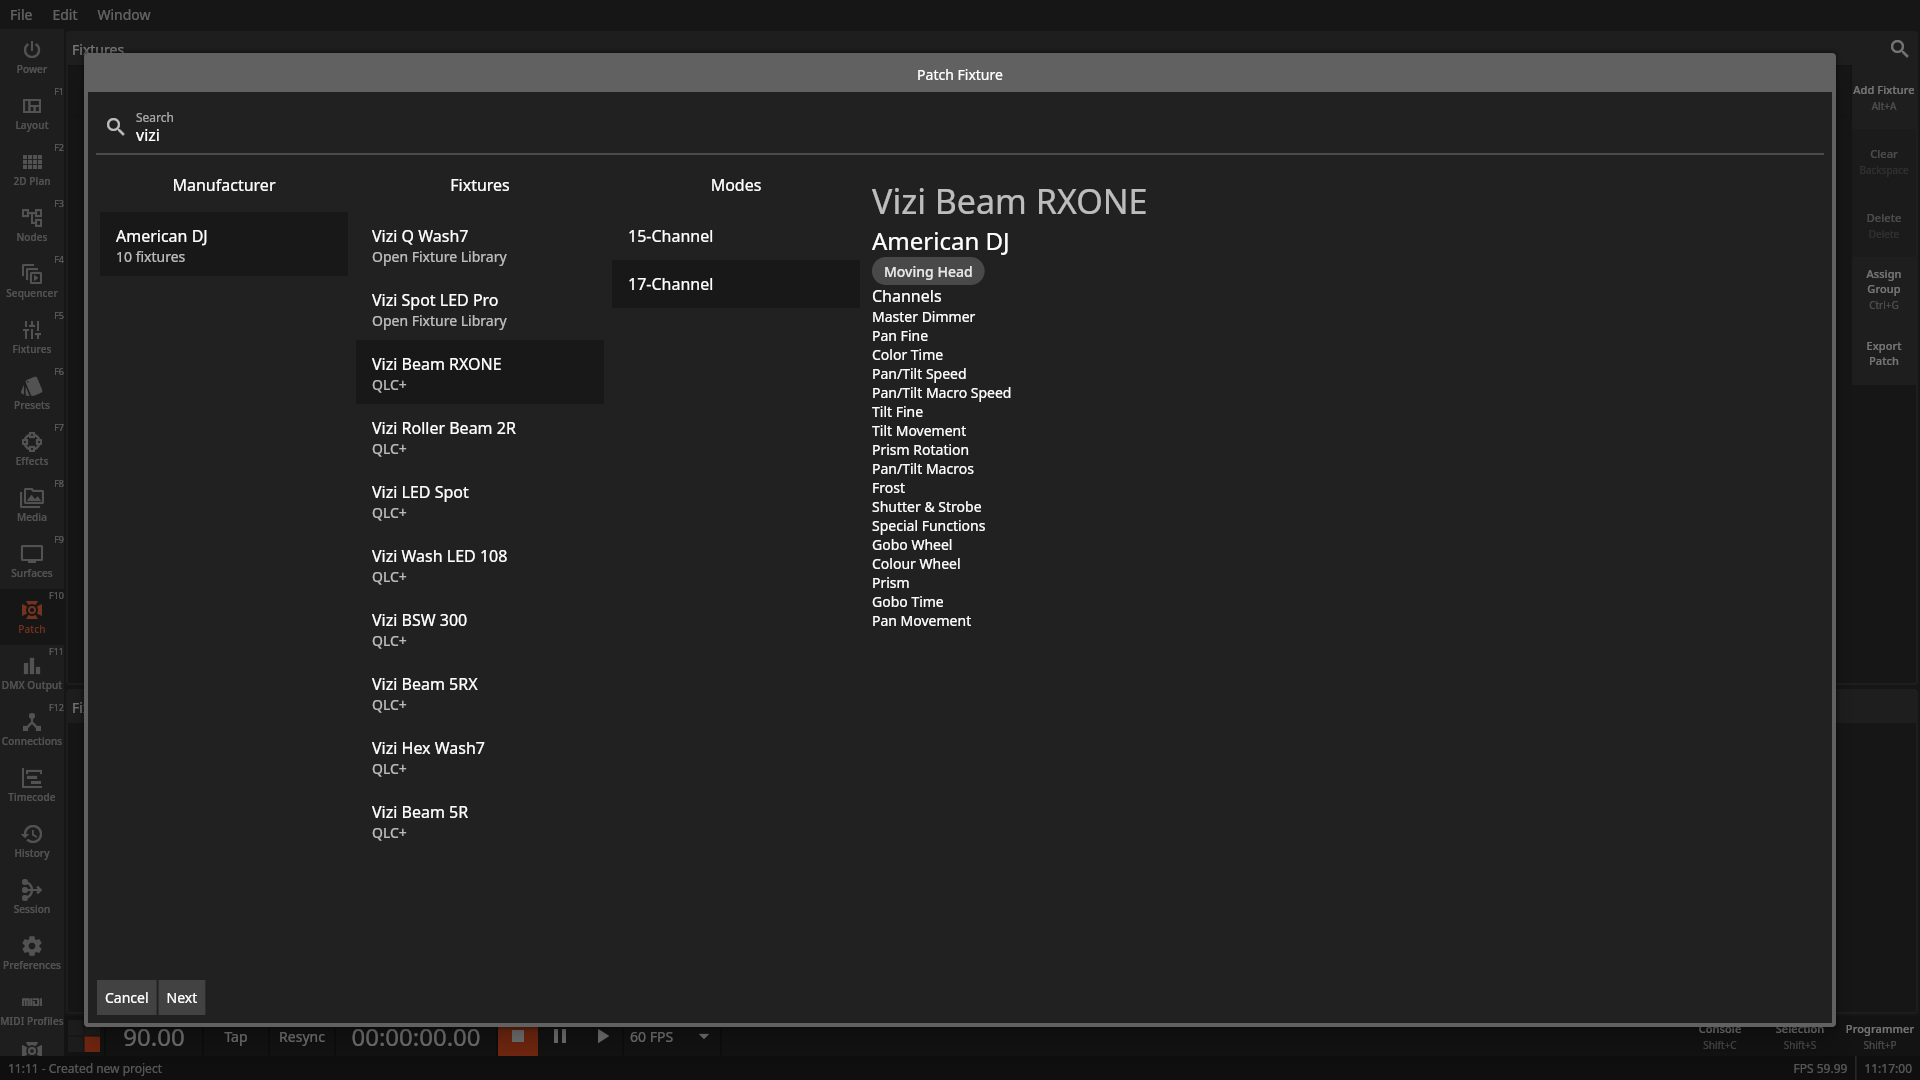
After you’ve selected the mode click the Next button to configure the fixture’s patch settings.
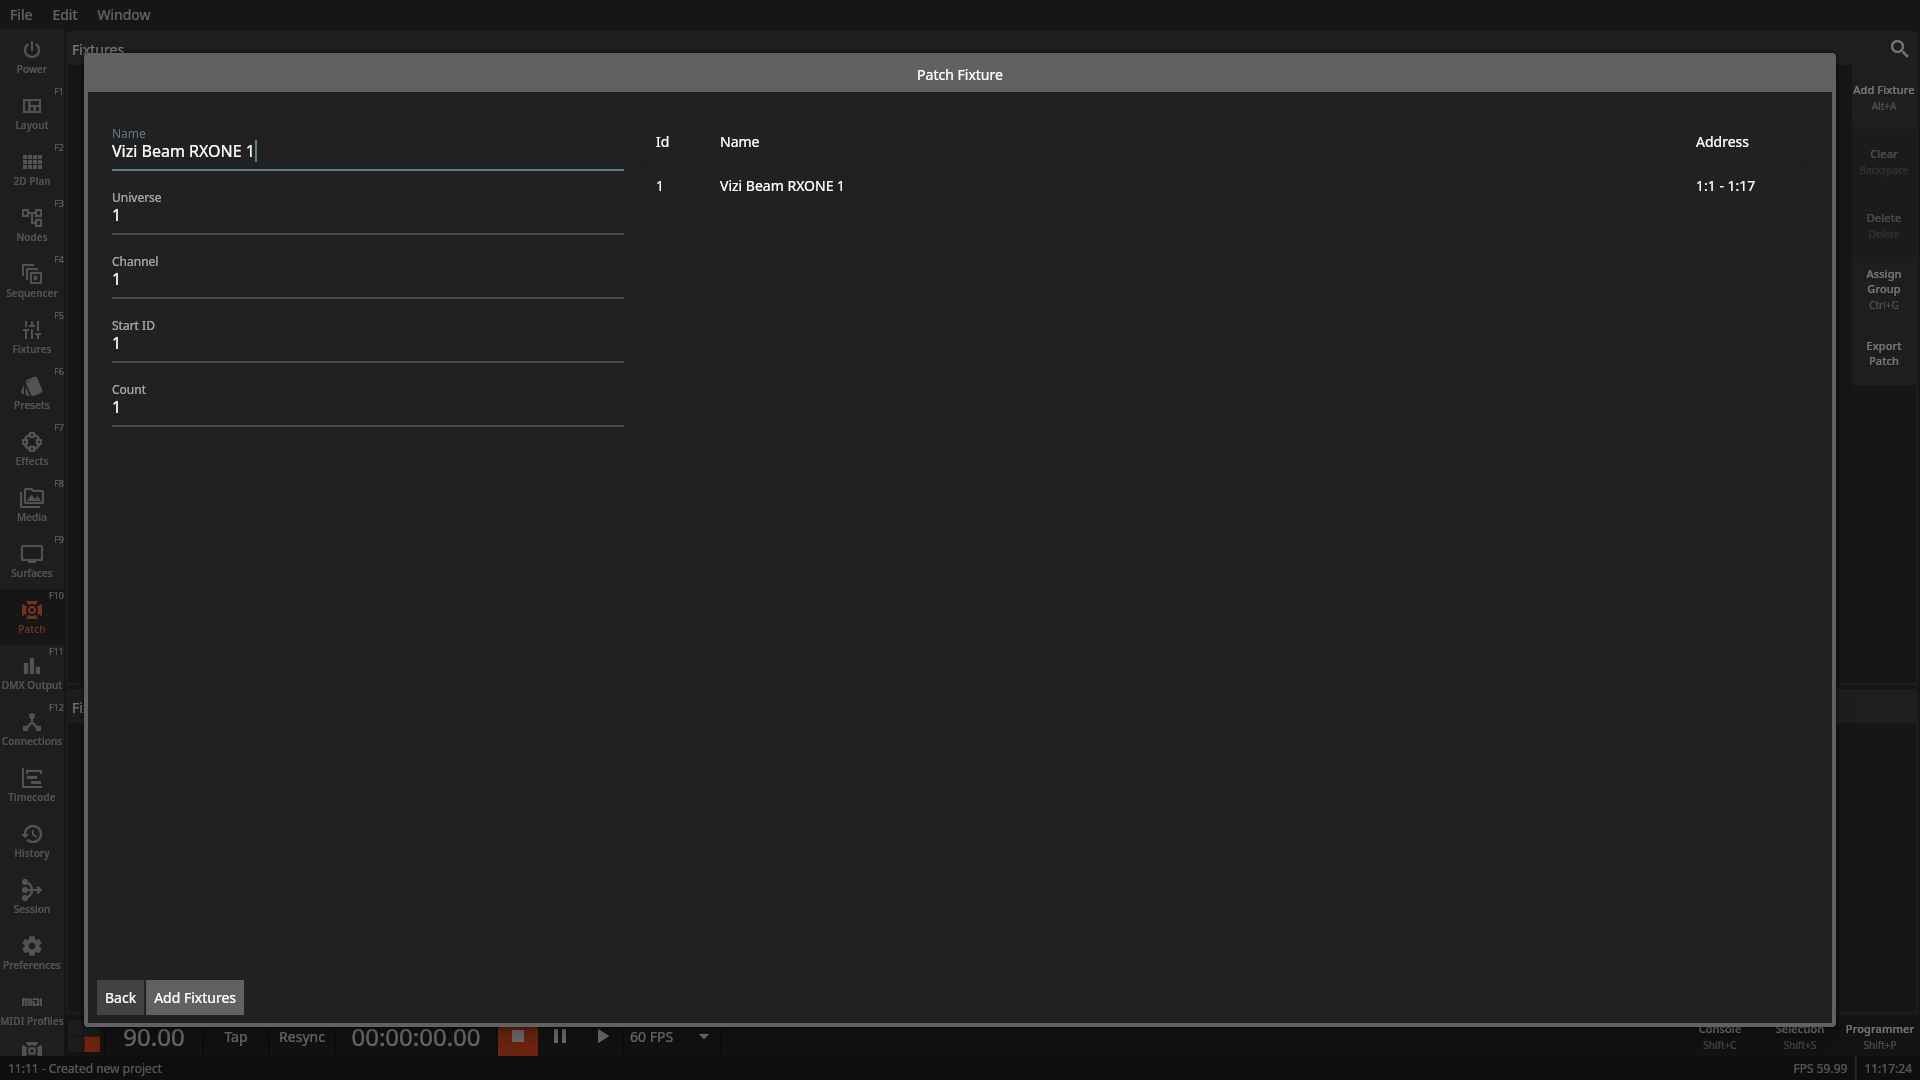
Here you can configure the name, DMX Universe, DMX Channel, internal ID and the count.
When the name ends with a number it will be automatically counted up as can be seen in the preview on the right side.

When you’re ready press Add Fixtures to patch the fixtures. You should now see the patched fixtures in the Patch window.
